Discover how to master a gipfeli recipe for a buttery and flaky Swiss delight, perfect for breakfast or brunch.
Introduction
Switzerland offers many culinary treasures. Among them, the gipfeli recipe stands out for its light, delicate layers and buttery flavor. This pastry looks similar to the French croissant, yet it carries its own unique traits. In many Swiss households, enjoying a fresh, homemade Swiss croissant is a cherished weekend ritual. Essentially, this pastry is all about achieving the right balance of buttery layers, consistent dough texture, and proper resting time.
However, mastering Swiss croissants can feel challenging. Beginners often worry about shaping the dough and preventing butter leaks. Nonetheless, making a gipfeli recipe at home is straightforward when you follow clear instructions and practice proper technique. The result is always worth the effort. Indeed, a homemade Swiss crescent roll offers crisp, flaky layers and a delicious aroma that can transform any morning meal.
Moreover, having control over the ingredients lets you elevate their flavors. Consequently, the pastries can reflect your personal touch. Another key factor is time management. Therefore, understanding how long your dough can rest in the fridge or how to plan ahead is crucial. Altogether, the Swiss gipfeli recipe delivers a fulfilling experience from start to finish.
Below, you will find detailed steps to create a flawless dough, shape impeccable croissants, and bake them to golden perfection. Eventually, you will relish a treat so satisfying that you will want to make it again and again.
Why gipfeli recipe Is a Swiss Classic
Switzerland’s approach to baking celebrates precision, premium ingredients, and longstanding tradition. Gipfeli recipe is part of that heritage, offering a local spin on the classic crescent roll. Comparatively, it is slightly smaller and less sweet than its French cousin. Nonetheless, it embodies the same buttery essence that pastry lovers crave.
Because Swiss croissants are typically enjoyed for breakfast or brunch, they serve as a cozy reminder of home. Undoubtedly, many Swiss children grow up savoring fresh pastries on weekend mornings. The combination of gentle sweetness and crisp layering provides a satisfying treat for all ages.
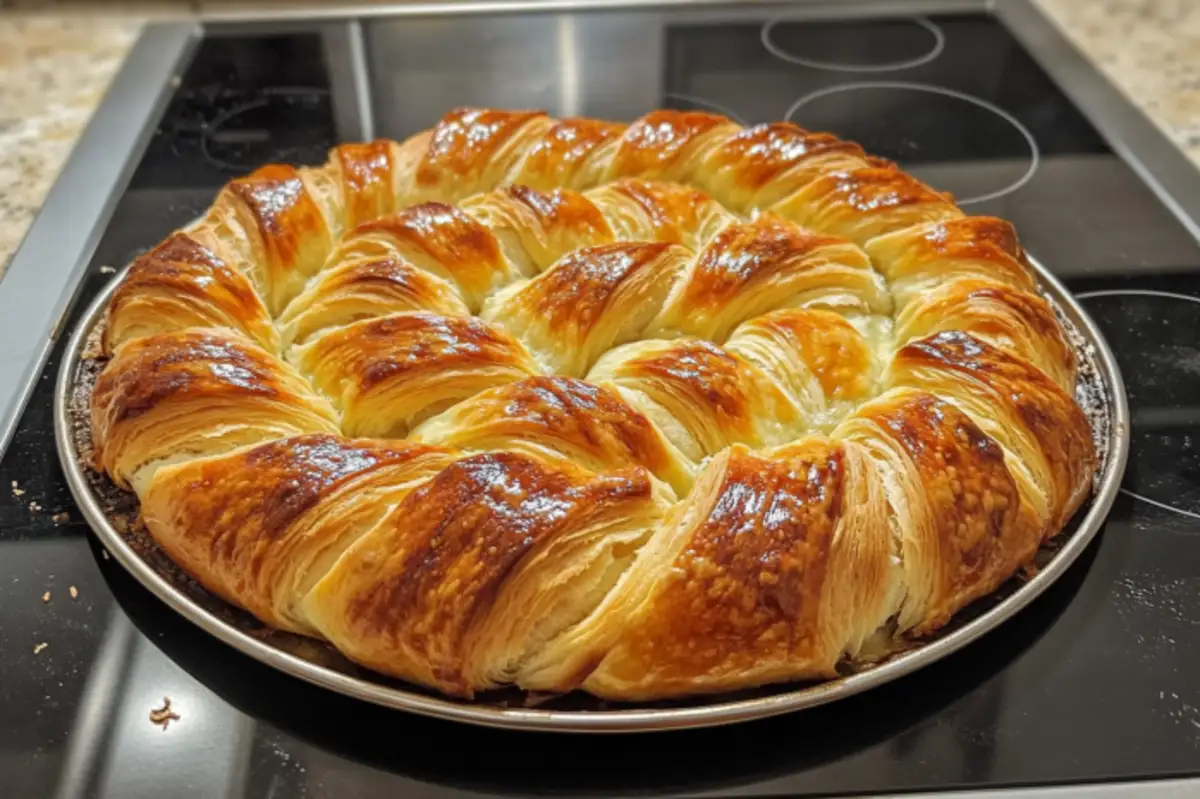
Furthermore, the gipfeli recipe stands out due to the emphasis on lightness. In fact, the dough is rolled thinner, yielding a delicate bite. When you break open a finished pastry, the wispy layers testify to careful rolling and adequate rest. Chiefly, that is the hallmark of a well-made Swiss crescent roll.
Tips for Flaky Layers in gipfeli recipe
Creating distinct layers depends on several factors. Firstly, ensure the butter remains cold but pliable. Secondly, roll out the dough evenly. Conversely, pressing too hard can force the butter into the dough, losing the precious layering effect. Finally, chilling the dough between folds retains the pastry’s structure, preventing the butter from melting prematurely.
Altogether, focusing on the small details yields an impressive final product. Indeed, this mindful approach to the rolling process highlights the artistry behind any flawless gipfeli recipe.
Essential Ingredients for the Perfect gipfeli recipe
Choosing high-quality ingredients is essential. Flour, butter, yeast, salt, and sugar form the foundation of any Swiss croissant. Generally, all-purpose flour works best in the United States, though bread flour can add a slightly chewier texture. Ultimately, your choice depends on preference. However, ensure consistent measurements to avoid imbalance in the dough.
Butter quality is critical. Many Swiss bakers prefer cultured butter for its tangy undertones. Nonetheless, unsalted regular butter also produces excellent results. Because the butter interacts with the dough in distinct layers, the flavor should be rich and fresh. Equally important is the yeast. Use active dry or instant yeast, carefully proofed according to instructions.
Additionally, a small amount of sugar adds subtle sweetness without overpowering the pastry. Salt, on the other hand, balances flavors and boosts the buttery taste. Consequently, an experienced baker knows how vital each element is for a stable structure and consistent crumb.
Proper Dough Resting for gipfeli recipe
Dough resting plays a significant role in any laminated pastry. After combining the basic ingredients, you should allow time for the gluten to develop and relax. Furthermore, chilling the dough makes it easier to handle during folding. This step ensures the butter remains firm, preserving distinct layers.
Likewise, allowing the shaped croissants to proof before baking is equally important. Because yeast requires warmth and time to activate, plan accordingly. Proofing helps the dough expand, resulting in a light and airy texture. Thus, skipping these rest periods leads to flat, dense pastries.
Mastering the Rolling Technique in gipfeli recipe
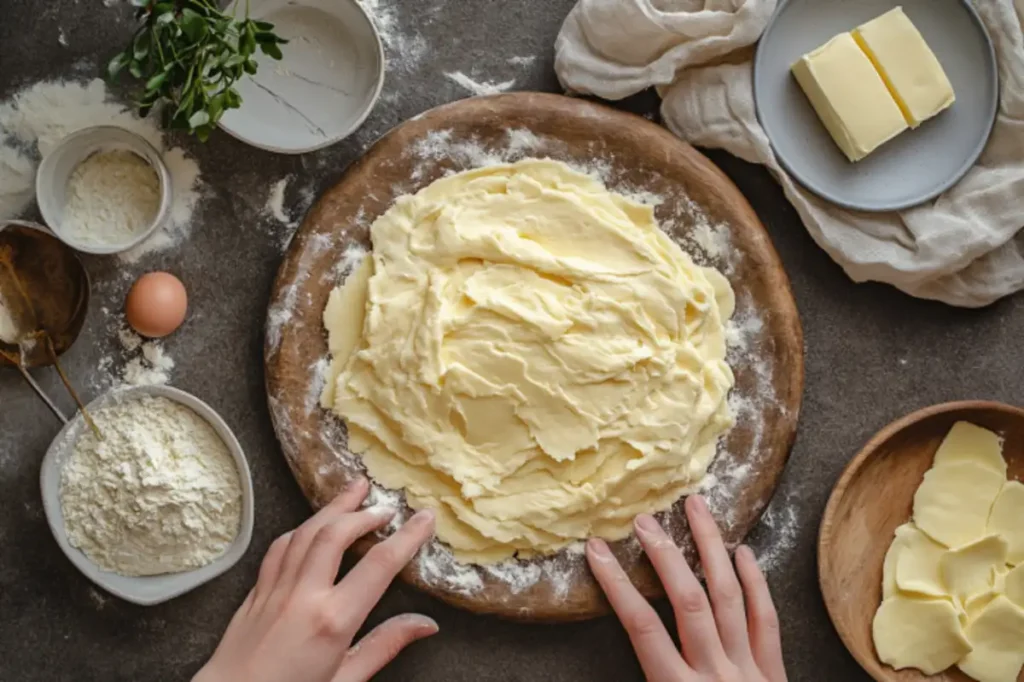
Proper rolling technique involves carefully enveloping a sheet of butter into the dough. Initially, you roll the dough into a rectangle, then fold the edges inward to encase the butter. Afterward, you flatten this block with gentle pressure, ensuring an even surface.
Because precision determines the final product’s success, measure your dough’s thickness as you proceed. Equally, be sure to rotate the dough and maintain a rectangular shape. If the butter breaks through, patch it gently with a dusting of flour. However, avoid adding too much flour, as it can make your croissants tough.
Quick Variations of gipfeli recipe
Bakers often like to modify the basic pastry to create sweet or savory options. For instance, you could include a small piece of Swiss chocolate in the center. Consequently, you produce a dessert-like pastry reminiscent of pain au chocolat. Alternatively, you might add ham and cheese for a lunchtime treat.
Basically, once you master the original version, it becomes easier to branch out. Another fun twist is to include almond paste for a nutty flavor. Undoubtedly, each variation showcases the versatile nature of the gipfeli recipe.
Swiss Croissants vs. French Croissants
At first glance, Swiss croissants look very similar to French croissants. Yet, there are differences in taste, size, and layering. French croissants often feature more pronounced layers, created by repeated folds of butter and dough. Swiss versions are sometimes smaller and tend to be a bit denser.
Nevertheless, both pastries revolve around the same technique: laminating dough with butter for a flaky structure. The Swiss approach typically uses less sugar, making the pastry lighter in sweetness. Conversely, French croissants often feature a slightly sweeter, richer dough.
Comparatively, Swiss croissants may also be shaped a bit tighter, with the tips pressed down to form a neat curve. In some parts of Switzerland, variations in shape distinguish them from their French counterparts. Ultimately, personal preference guides which style you might enjoy more.
Step-by-Step Guide to Making Swiss Gipfeli

Anyone tackling a Swiss gipfeli recipe must remain organized. Initially, gather all ingredients at room temperature, except the butter designated for laminating. Carefully proof your yeast in lukewarm water if using active dry yeast. Combine flour, sugar, salt, and yeast to form a dough. Knead gently until smooth.
- Form the Dough: Pat the dough into a rectangular shape. Wrap and chill for about 30 minutes.
- Prepare the Butter Block: Flatten cold butter into a thin rectangle. Keep it chilled, but soft enough to fold.
- Encasing the Butter: Place the butter block in the center of the dough. Fold the dough’s sides over the butter. Seal the edges.
- First Roll and Fold: Roll out the dough gently. Fold it into thirds like a letter. Chill for 20 minutes.
- Second Roll and Fold: Repeat the rolling and folding. Rotate the dough 90 degrees for even layers. Chill again.
- Third Roll and Fold (Optional): Some bakers do a third fold for extra layers. Refrigerate afterward.
- Shaping: Roll the dough into a large rectangle, about ¼-inch thick. Cut into triangles. Roll each triangle from base to tip.
- Proofing: Place shaped pastries on a baking tray. Cover and let them rise in a slightly warm environment for about 2 hours.
- Baking: Preheat your oven to 375°F (190°C). Brush each pastry with egg wash. Bake until golden brown, about 15–20 minutes.
Meanwhile, watch for signs that your butter is melting too quickly. If it seeps out, pop the dough back into the fridge. Eventually, consistent chilling leads to success.
Ensuring a Buttery, Light Texture
Securing that classic airy bite requires attention to temperature. Butter that is too warm can break down the dough. Consequently, you lose those appealing layers. Meanwhile, overly cold butter can shatter when rolled, creating uneven sections.
Hence, aim for a middle ground. You want the butter pliable but not greasy. Particularly during warm months, you may need to chill the dough more often. Likewise, if your kitchen is cool, you might not have to refrigerate as frequently.
Additionally, do not skip the final proof before baking. That step promotes lift and expansion. You will see the croissants puff up slightly, a sure sign that your yeast is active and thriving. Because of that final rise, the resulting pastry will be lighter and more aromatic when it emerges from the oven.
Timing and Scheduling
Proper scheduling is vital for any laminated pastry, particularly if you have a busy routine. After preparing the dough, you can refrigerate it overnight to simplify the process. This method not only saves time on baking day but also allows flavors to develop further.
If you do not plan on baking immediately, you can freeze the shaped croissants. Then, thaw them in the fridge overnight and proof in the morning. This approach ensures fresh pastries whenever you desire. Because life can be hectic, planning ahead prevents wasted dough and ensures an enjoyable baking experience.
Furthermore, some bakers prefer to break the procedure into two days. On day one, complete the dough mixing, resting, and initial folds. On day two, shape, proof, and bake. Thus, you avoid feeling rushed or overwhelmed by the process.
Serving Suggestions and Pairings

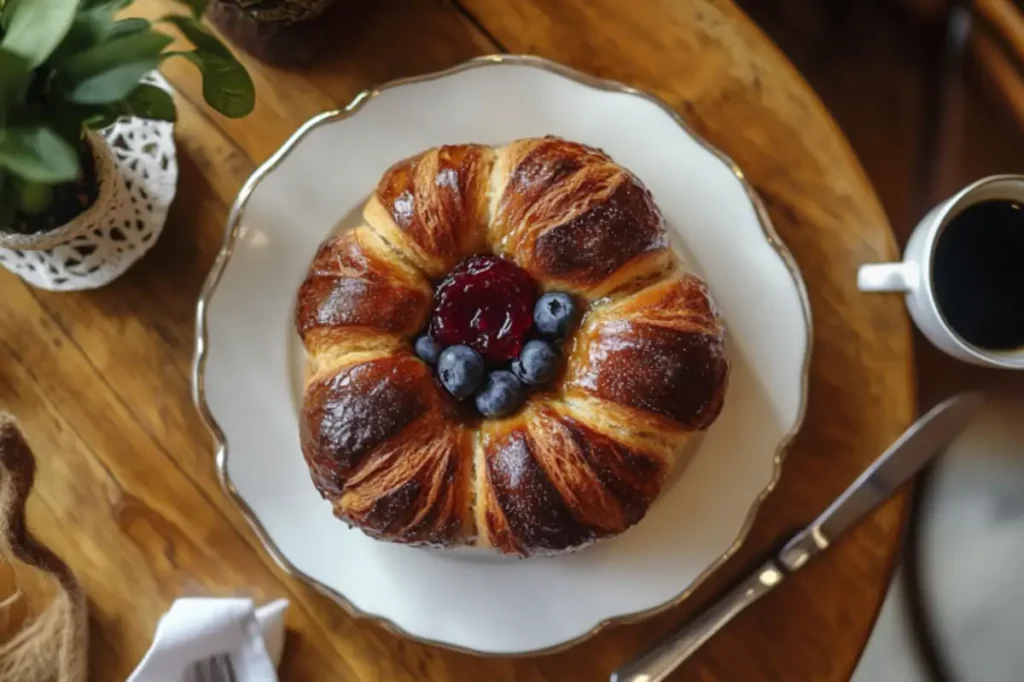
Swiss gipfeli recipe pastries shine at breakfast or brunch. Pair them with jams, honey, or butter for a simple indulgence. Another possibility is to serve them with fresh fruit, yogurt, or granola for a balanced meal. If you love savory options, slice your croissant in half and fill it with cheese, ham, or eggs.
Generally, a steaming cup of coffee or hot chocolate complements the buttery richness of these pastries. Additionally, fresh orange juice offers a refreshing contrast. Indeed, the mild sweetness of a Swiss croissant pairs well with both sweet and savory beverages.
At gatherings, you can present a variety of fillings on the table. Your guests can customize their pastries according to taste. For example, set out cream cheese, smoked salmon, or chocolate spreads. Undoubtedly, offering multiple options will please everyone.
Conclusion
Mastering a gipfeli recipe can elevate your baking repertoire. Equally, it fosters a deeper appreciation for Swiss pastry traditions. From selecting the best ingredients to perfecting your folding technique, each stage builds a pastry worthy of any breakfast table.
Basically, once you practice a few times, you will see significant improvements in texture and flavor. The buttery layers will speak for themselves. Furthermore, you can adjust details to create sweet or savory treats that fit your personal preferences.
Ultimately, remember that patience is your ally. Chilling the dough and allowing it to rise properly ensures layers remain distinct. Undoubtedly, the reward of biting into a freshly baked Swiss croissant is truly delightful. Keep experimenting, and soon, you will find yourself crafting flawless pastries that impress friends and family.
Frequently Asked Questions
What is a common mistake in croissants?
A typical error is rushing the folding and chilling steps. This leads to butter leaking out or merging with the dough. Consequently, the pastries lose their flaky structure. Always chill the dough when it becomes too warm, and handle it gently to protect the layers.
How long can croissant dough stay in the fridge?
You can keep the dough in the refrigerator for up to 48 hours before shaping. However, most bakers prefer using it within 24 hours. Conversely, waiting too long might reduce yeast activity, causing less rise. Nonetheless, the dough’s flavor can improve slightly over time, so use your judgment.
Why does butter leak out of croissants when baking?
Butter usually leaks when it is not properly encased in the dough or if the dough gets too warm. Therefore, maintain a consistent temperature during rolling. Additionally, use quick, gentle motions to avoid melting the butter prematurely. If you notice butter seeping, chill the dough immediately.
Can you prep croissants ahead of time?
Yes. You can refrigerate or freeze shaped croissants before proofing. Store them in an airtight container or freezer bag. Subsequently, when you want to bake, thaw them in the fridge, proof them until puffy, and bake as usual. This method saves time and effort on busy mornings.

