Wake up to the irresistible aroma of freshly baked vanilla nut granola filling your kitchen. This homemade granola isn’t just a breakfast option—it’s a culinary experience. It transforms your morning routine into a moment of pure delight.
Imagine crafting a vanilla nut granola recipe that’s not only incredibly delicious but also packed with wholesome ingredients. With just 8 simple components and minimal prep time, you’ll create a healthy breakfast option. It puts store-bought versions to shame.
Whether you’re a seasoned home cook or a kitchen novice, this vanilla nut granola recipe promises a foolproof way to elevate your breakfast game. The combination of whole rolled oats, natural maple syrup, and pure vanilla extract creates a symphony of flavors. It will have you falling in love with homemade granola.
Benefits of Making Your Own Granola at Home

Making your own granola turns a simple breakfast into a special treat. It brings nutrition, creativity, and savings right to your kitchen. Homemade granola beats store-bought in every way.
Cost-Effective Breakfast Solution
Homemade granola saves you money compared to store-bought. Here’s why:
- Buying ingredients in bulk cuts costs
- You choose affordable ingredients
- No extra charges for packaging
Complete Ingredient Control
With homemade granola, you pick what’s best for you. Experts suggest:
- Use whole oats as the base
- Look for at least 4 grams of fiber
- Keep sugar under 7 grams
- Choose unsaturated fats from nuts and seeds
Personalized Taste Experience
Your homemade granola lets you get creative. Try different:
- Nuts like walnuts and almonds
- Seeds like chia and pumpkin
- Dried fruits like raisins and cranberries
- Unique spices and flavorings
“Homemade granola isn’t just food; it’s an expression of personal taste and nutrition.” – Culinary Nutritionist
By making your own granola, you’re doing more than just cooking. You’re investing in your health, wallet, and cooking skills.
Essential Ingredients for Perfect Vanilla Nut Granola

Making the best vanilla nut granola starts with choosing top-notch ingredients. These ingredients turn a simple oat snack into a tasty delight. Knowing the key parts can make your homemade granola truly special.
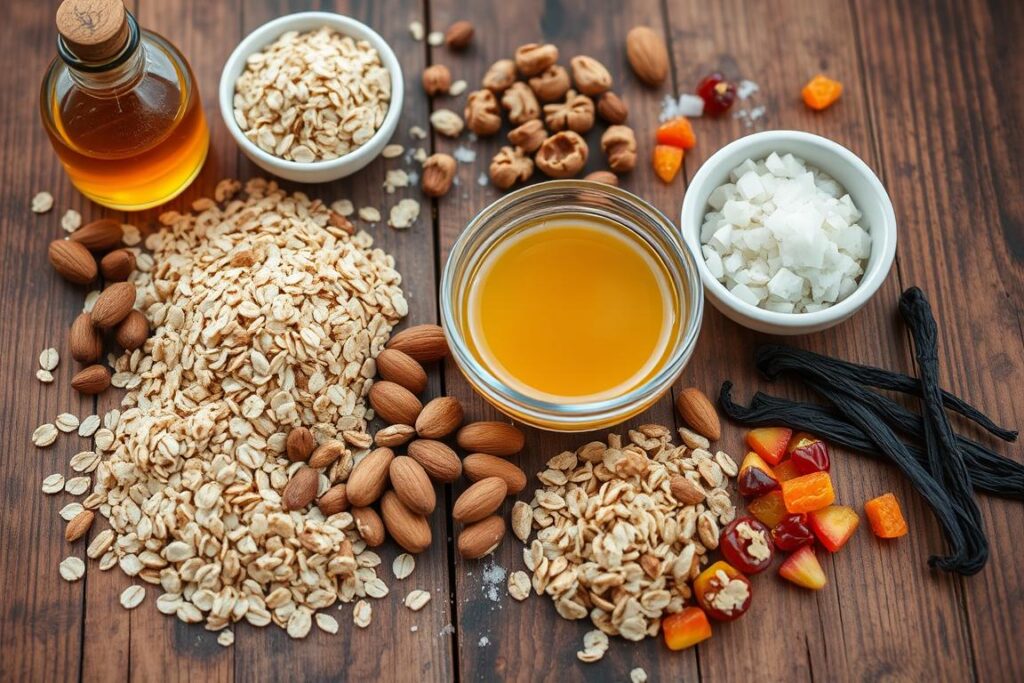
The base of a great vanilla nut granola recipe is premium ingredients. Here are the must-haves:
- Old-Fashioned Rolled Oats: The main ingredient that gives great texture and health benefits
- Raw Nuts: Almonds, pecans, or walnuts for crunch and protein
- Pure Maple Syrup: A natural sweetener with a rich taste
- Coconut Oil: Adds healthy fats and helps make crispy clusters
- Vanilla Extract: Gives that warm, comforting flavor
- Ground Cinnamon: Adds depth and warmth to your granola
- Sea Salt: Enhances taste and balances sweetness
“The secret to amazing granola lies in using fresh, high-quality ingredients and understanding how they work together.”
When picking granola ingredients, go for organic and raw options. Whole rolled oats have more fiber and nutrients than instant oats. Raw nuts give the best crunch and nutrition. Pure vanilla extract beats artificial stuff, ensuring a real, rich flavor in your granola.
Adding extras can make your basic recipe even better. Try:
- Dried fruits like cranberries or raisins
- Coconut flakes
- Seeds such as chia or sunflower
- Dark chocolate chips
By picking and mixing these ingredients carefully, you’ll make a delicious, healthy oat snack. It will be way better than store-bought ones.
Why This Vanilla Nut Granola Recipe Works
Making the perfect homemade granola is like a work of art. It’s all about flavor, nutrition, and texture. This vanilla nut granola recipe is a healthy breakfast choice that tastes amazing and is crunchy.
Natural Sweeteners Make the Difference
Goodbye, refined sugars! This recipe uses natural sweeteners like maple syrup. It’s a healthier choice. The natural sweetness enhances the flavors without compromising nutrition.
- Maple syrup provides natural sweetness
- No refined sugars added
- Lower glycemic impact
Flavor Harmony in Every Bite
The mix of vanilla and almond extracts makes this granola special. It turns simple homemade granola into something truly remarkable. Every bite is a perfect blend that excites your taste buds.
“Great granola is about creating a symphony of flavors that dance on your palate.”
Mastering Crunchy Granola Clusters
Getting those crunchy granola clusters right is key. Our recipe uses special baking methods and ingredient ratios. This ensures you get crispy, perfect clusters every time.
| Ingredient | Cluster Formation Impact |
|---|---|
| Almond Butter | Helps bind ingredients |
| Coconut Oil | Adds crispiness |
| Maple Syrup | Creates natural binding |
By using these techniques, you can turn simple ingredients into a tasty, nutritious breakfast. It will keep you full and energized all morning.
Kitchen Tools and Equipment Needed
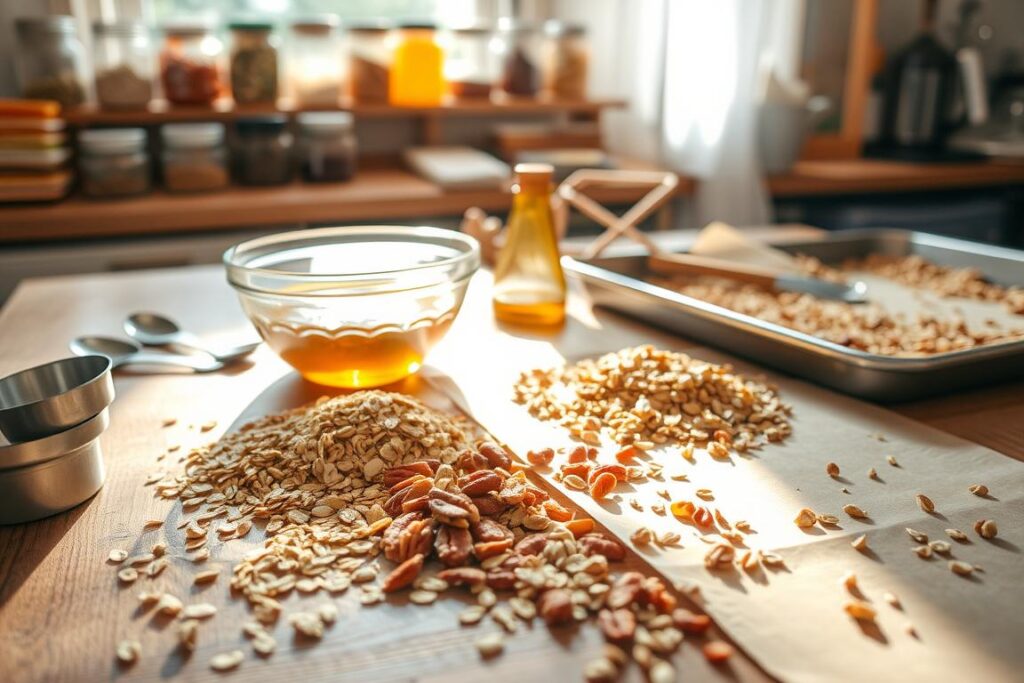
To make delicious homemade granola, you need some key kitchen tools. Start your granola-making journey by getting the right equipment. This makes the process smooth and fun.
- Large mixing bowl (preferably glass or stainless steel)
- Measuring cups and spoons
- Kitchen scale for precise ingredient measurements
- Whisk for blending wet ingredients
- Rubber spatula for mixing
- Large baking sheet with rimmed edges
- Parchment paper or silicone baking mat
- Cooling rack
- Airtight storage containers
The right tools can make your granola recipe stand out. A kitchen scale gives the most accurate measurements. This ensures your homemade granola turns out great every time.
“Precision is the secret ingredient in creating the perfect granola.”
| Tool | Purpose in Granola Making | Recommended Type |
|---|---|---|
| Mixing Bowl | Combining dry and wet ingredients | Large, wide-mouth glass bowl |
| Baking Sheet | Even baking and cluster formation | Heavy-gauge rimmed sheet pan |
| Measuring Tools | Accurate ingredient proportions | Graduated cups and digital scale |
Pro tip: Invest in quality tools for easier and more fun granola making. Each tool is important for making that perfect, crunchy granola you’ll be proud to share.
Step-by-Step Vanilla Nut Granola Recipe
Making your own granola is simpler than you think. This recipe will guide you in making tasty, crunchy granola clusters at home. You’ll turn simple ingredients into a delicious treat that’s better than store-bought.
Gathering Your Ingredients
First, let’s look at what you need for your homemade granola. You’ll need:
- 5 cups old-fashioned oats
- 2 cups mixed nuts (almonds, walnuts, cashews)
- 1 tablespoon ground cinnamon
- 1 teaspoon sea salt
- 1/3 cup honey or maple syrup
- 1/3 cup coconut oil
- 1 tablespoon vanilla extract
Mixing Dry Ingredients
To start making vanilla nut granola, mix your dry ingredients. In a big bowl, mix together oats, nuts, cinnamon, and salt. Make sure to mix well so flavors are evenly spread.
Combining Wet Ingredients
Now, mix your wet ingredients in another bowl. Whisk together honey, melted coconut oil, and vanilla extract. This mix will help make those crunchy granola clusters you’re looking for.
Baking Process
Preheat your oven to 325°F (163°C). Add the wet ingredients to the dry mix and stir until everything is coated. Spread the mix on a lined baking sheet.
“The secret to perfect granola is patience and occasional stirring!”
Bake for 20-25 minutes, stirring every 10 minutes. This ensures even browning and creates those crunchy clusters you’ll love.
| Ingredient | Quantity | Nutritional Value |
|---|---|---|
| Oats | 5 cups | High in fiber |
| Mixed Nuts | 2 cups | Rich in healthy fats |
| Honey | 1/3 cup | Natural sweetener |
Let your vanilla nut granola cool completely on the baking sheet. This step is key for those satisfying clusters. Store in an airtight container for up to two weeks. Enjoy your homemade granola!
Tips for Achieving Perfect Crunchy Clusters
Making perfect crunchy granola clusters is a bit of kitchen magic. With a few simple tricks, your homemade granola can be as good as store-bought. These tips will turn ordinary ingredients into crispy, tasty treats.
The secret to amazing crunchy granola clusters is in your baking. Choose a large, rimmed baking sheet for even cooking and crispiness. Use parchment paper to prevent sticking and make cleaning easy.
“The key to great homemade granola is patience and technique.”
Here are some pro tips for achieving those irresistible crunchy granola clusters:
- Press the mixture firmly into a thin, even layer before baking
- Avoid stirring during the first 20 minutes of baking
- Gently pack down the granola halfway through cooking
- Let the granola cool completely before breaking into clusters
Temperature and timing are key for that perfect crunch. Bake at a moderate temperature (around 325°F) to avoid burning. Keep an eye on it during the last few minutes for golden-brown perfection.
After baking, don’t break up the clusters right away. Let them cool completely on the baking sheet. This helps create larger, more substantial clusters that stay crunchy.
Pro Tip: The granola will continue to crisp up as it cools, so don’t worry if it seems slightly soft right out of the oven.
With these tips, you’ll turn simple ingredients into delicious crunchy granola clusters. They’re perfect for snacking, topping yogurt, or enjoying straight from the jar.
Storage and Shelf Life Guidelines
Keeping your homemade granola fresh is key. Knowing how to store it right will help you enjoy it for longer. It’s all about keeping that crunchy texture and delicious taste.
Room Temperature Storage
Granola stays fresh and crunchy at room temperature. Just follow these simple steps:
- Use an airtight container to prevent moisture exposure
- Store in a cool, dry place away from direct sunlight
- Keep the container sealed when not in use
Freezing Instructions for Long-Term Preservation
Freezing is a great way to keep your granola fresh for longer. Here’s how to freeze it right:
- Ensure granola is completely cool before freezing
- Use a freezer-safe, airtight container or heavy-duty freezer bag
- Remove excess air to prevent freezer burn
- Label the container with the date of storage
Maintaining Peak Freshness
| Storage Method | Duration | Best Practices |
|---|---|---|
| Room Temperature | 2-4 weeks | Airtight container, cool location |
| Freezer | 3-6 months | Sealed bag, remove air |
“The secret to great granola is not just in making it, but in storing it right!” – Culinary Experts
Pro tip: Let your frozen granola sit at room temperature for 5-10 minutes before eating. Avoid storing near heat sources or in humid environments to keep it crunchy.
Creative Ways to Serve Your Granola
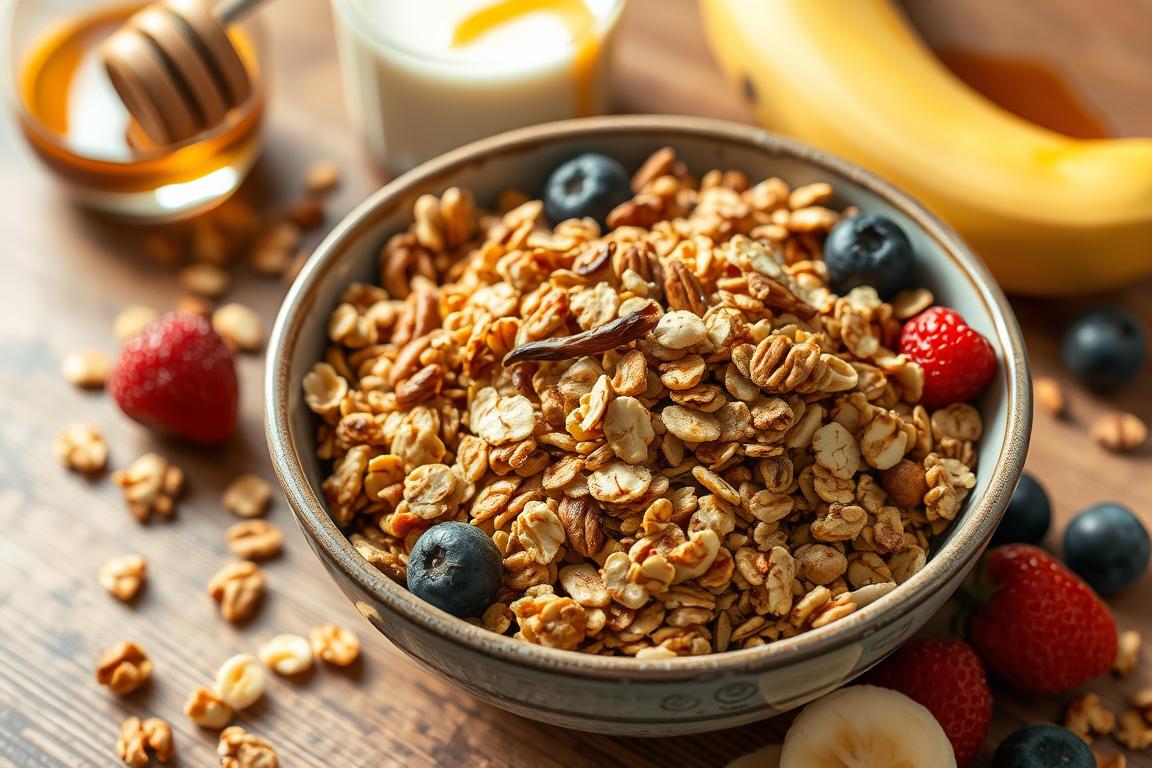
Your homemade vanilla nut granola is incredibly versatile. It can turn ordinary meals into delightful culinary experiences. As a granola topping for yogurt, it adds crunch and flavor to your morning routine. This makes it a healthy breakfast option that keeps you satisfied.
- Breakfast Boost: Sprinkle over Greek yogurt with fresh berries
- Smoothie Bowl Topping: Add texture to acai or fruit smoothie bowls
- Cereal Alternative: Enjoy with cold milk as a crunchy breakfast
- Salad Crunch: Use as a savory-sweet salad topping
- Baking Companion: Garnish muffins or quick breads
Granola isn’t just for breakfast. Get creative and experiment! You can use it as a protein-packed snack, mix it into trail mix, or even create unique dessert toppings.
“Homemade granola transforms ordinary meals into extraordinary culinary adventures.” – Culinary Enthusiast
| Serving Suggestion | Preparation Time | Nutrition Boost |
|---|---|---|
| Yogurt Parfait | 3 minutes | High protein, low sugar |
| Smoothie Bowl Topping | 5 minutes | Added fiber and crunch |
| Fruit Salad Garnish | 2 minutes | Extra nutritional value |
Remember, your vanilla nut granola is a blank canvas for culinary creativity. Experiment and discover your favorite ways to enjoy this delicious, healthy breakfast option!
Nutritional Benefits and Dietary Information
Your homemade vanilla nut granola is more than tasty. It’s a nutritional powerhouse. It’s gluten-free and packed with essential nutrients. This makes it a great choice for those who care about their health.
This vegan granola recipe is full of nutrients. Each serving gives you a mix of important nutrients:
- High-quality protein from diverse nuts
- Complex carbohydrates from rolled oats
- Heart-healthy omega-3 fatty acids
- Essential vitamins and minerals
Protein helps keep muscles strong. Fiber is good for your digestive health. The nuts add healthy fats that are good for your brain and heart.
“Nutrition isn’t about perfection, it’s about balance and making smart choices” – Unknown
By making it yourself, you choose better ingredients. You avoid artificial preservatives found in store-bought granolas. The natural sweeteners like maple syrup give you energy without too much sugar.
Nutritional highlights per serving:
- Calories: Approximately 132 kcal
- Protein: 2.8 grams
- Dietary Fiber: 1.5 grams
This granola is more than just food. It’s a nutrient-dense fuel for your daily adventures.
Conclusion
Making your own vanilla nut granola is more than cooking. It opens the door to healthier, more personal breakfasts. This homemade granola lets you control your morning nutrition. It’s a tasty, flexible meal that fits your lifestyle.
This healthy breakfast option is easy and flexible. It’s great for cutting sugar, meeting dietary needs, or just enjoying a crunchy snack. Bake at 350°F for 25-30 minutes and store in a sealed container. This keeps it fresh for up to two weeks.
Don’t stop with the basic recipe. Try adding dried fruits, seeds, or chocolate chips for a unique flavor. Making granola from scratch is incredibly rewarding. It shows that the best meals often come from your own kitchen.
Granola making is more than just food. It’s about creating joy, nourishment, and personal creativity. So, get your oven ready, gather your ingredients, and explore the tasty possibilities ahead.

